Sometimes a remount of your bindings is necessary when either you wish to move the mounting position or when different ski boots with a different Boot Sole Length (BSL) needs to fit properly. Many bindings have an adjustment range to simply move the bindings in the heel to accommodate minor adjustments without changing the Boot Sole Center (BSC) enough to affect performance.
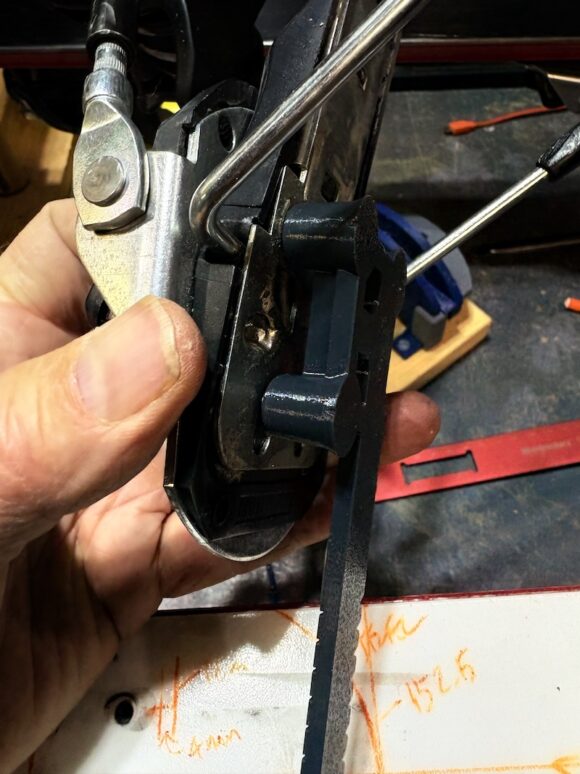
Look Pivot 1.0s have an 11mm or so adjustable range (2.0s have around 20mm). In this case new boots with a 7mm longer BSL were just past the adjustable range, requiring a shift rearward for the heels.
Write down the BSL and mark the BSC and see how it and the boot sits on the ski relative to the recommended or prior mount location. Trace the heel as a reference. If you feel it may be too much of a shift, then both the toe and heel pieces might need to be remounted. In this case, just the heels will be shifted approximately 10mm.

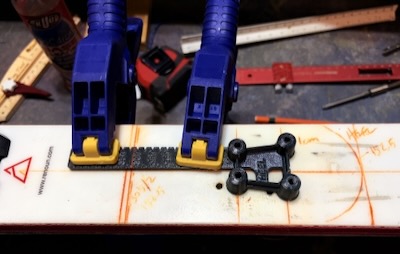
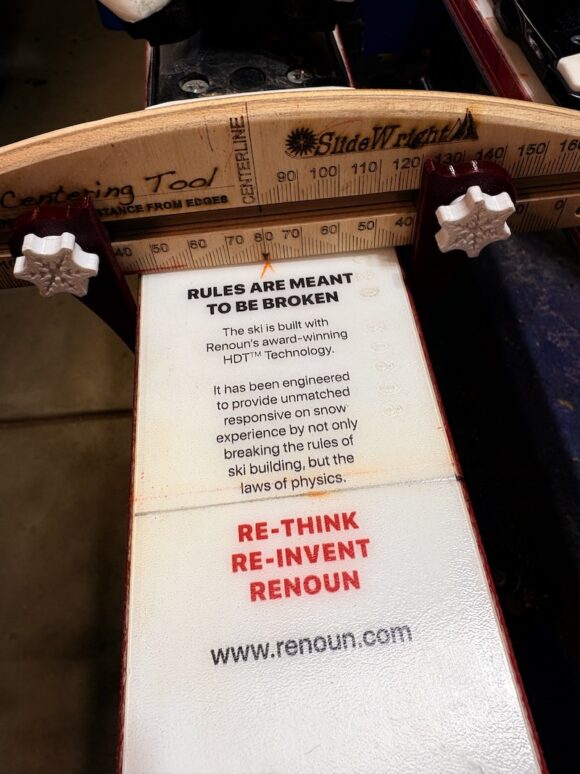
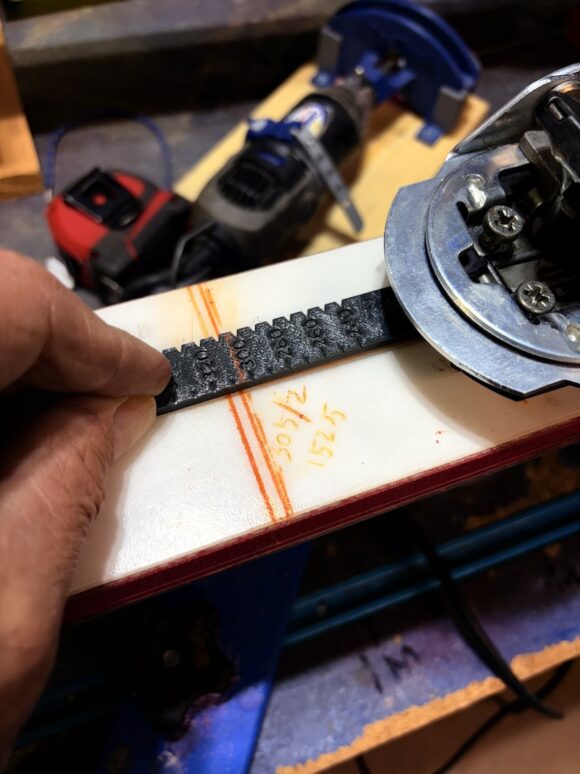
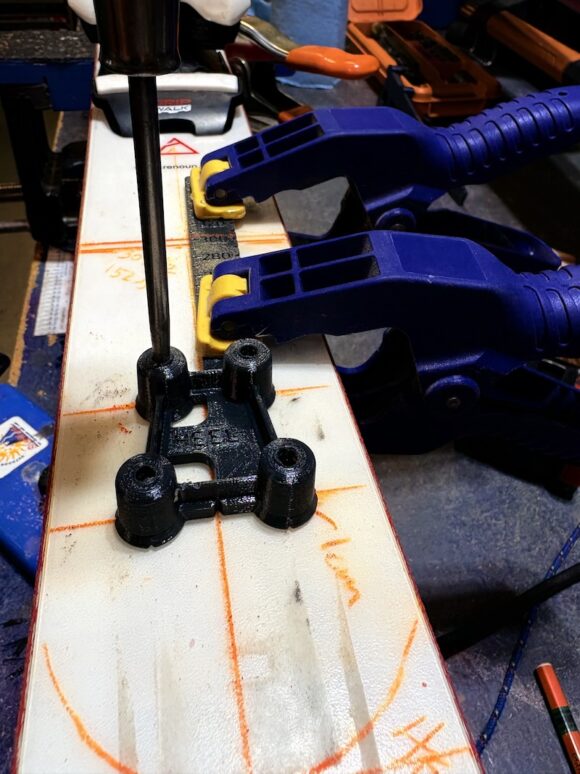
Mark the ski center with the SlideWright Ski Centering Tool and draw a center line. With the Pivot heel set at the middle of the adjustment range, attach the heel of the SlideWright Look Pivot Binding Layout Tool to the Look Pivot heel to see how the screws align relative to the existing holes. It’s best to have around 10mm (min.) clear between the existing holes and new ones:
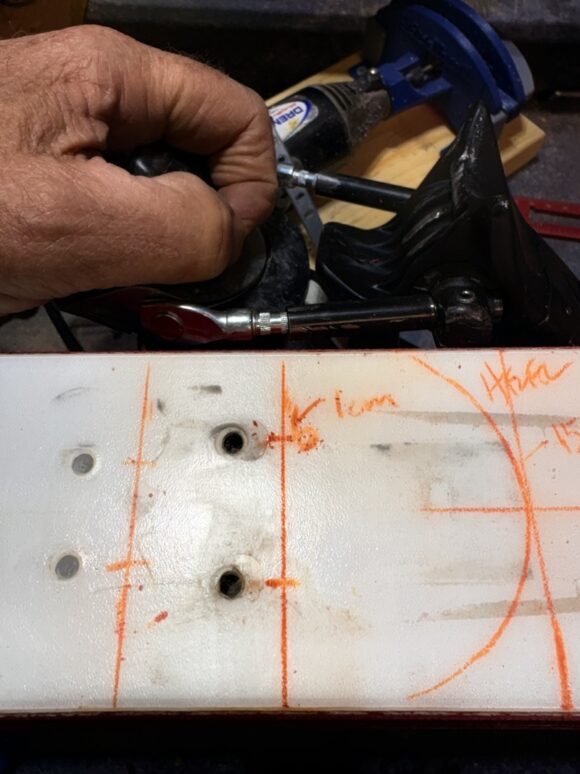
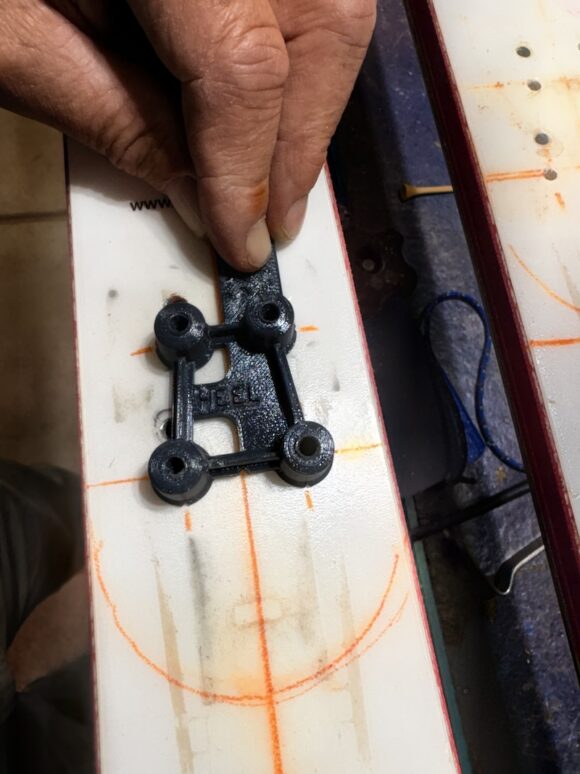
There are notches on all sides of the Binding Layout Tool tool than can be both used for checking existing hole layouts and marking new ones. If you are switching to another binding the layout tools are invaluable to avoid hole conflicts.
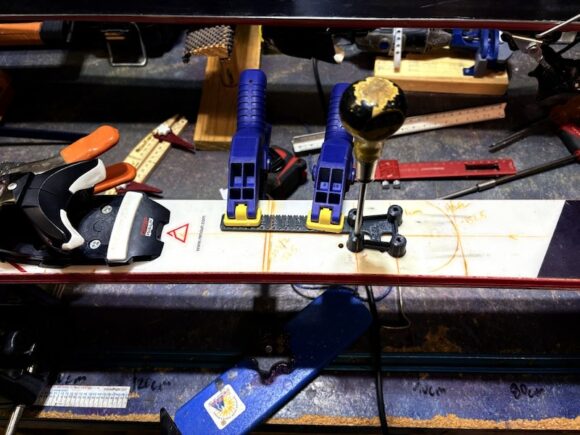
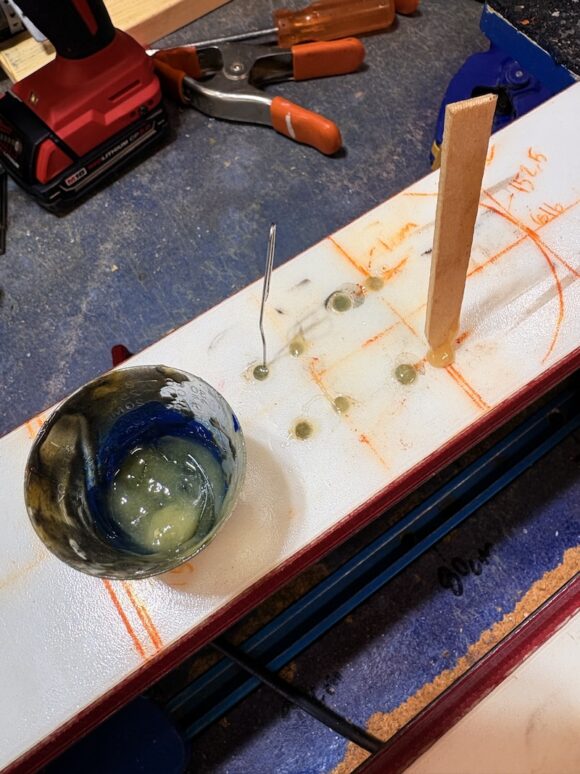
After checking and rechecking the proposed layout, clamp the SlideWright Binding Layout Tool to the ski and mark the holes with an awl. Double check that the small awl marks are correct with the layout tool. If correct, punch the holes to avoid drill tip wandering. Drill, tap and countersink holes, then vacuum.
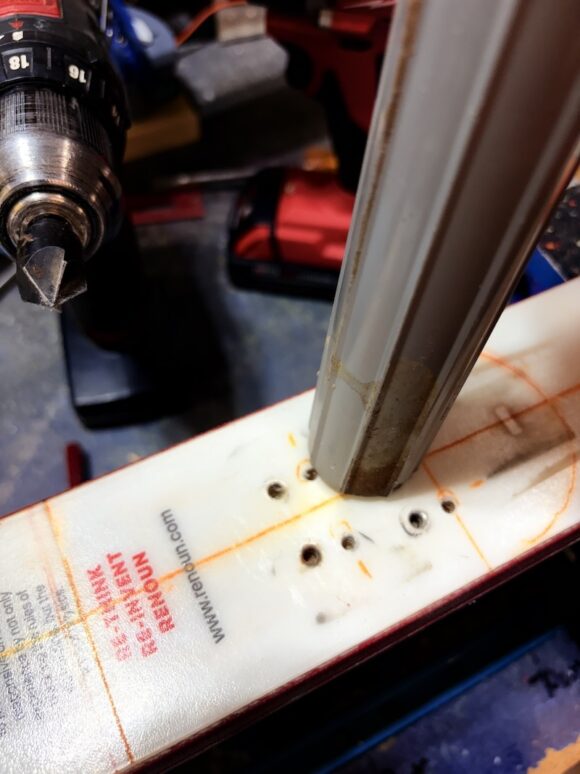
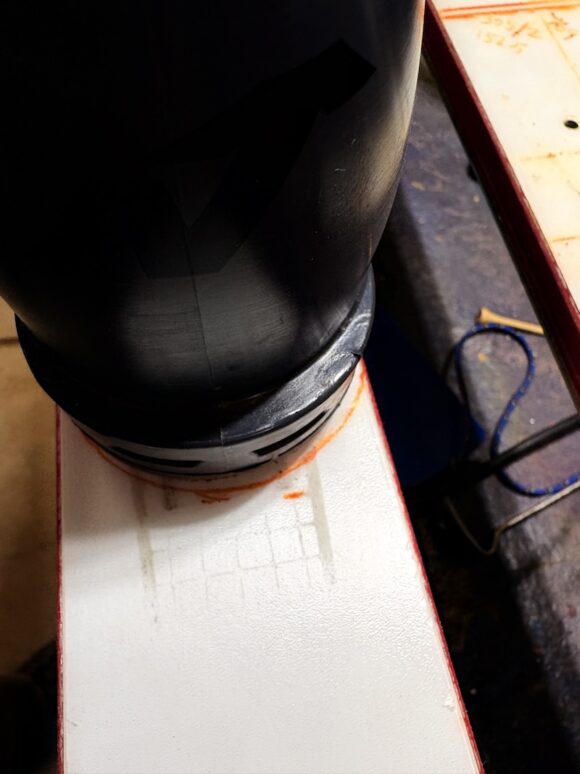
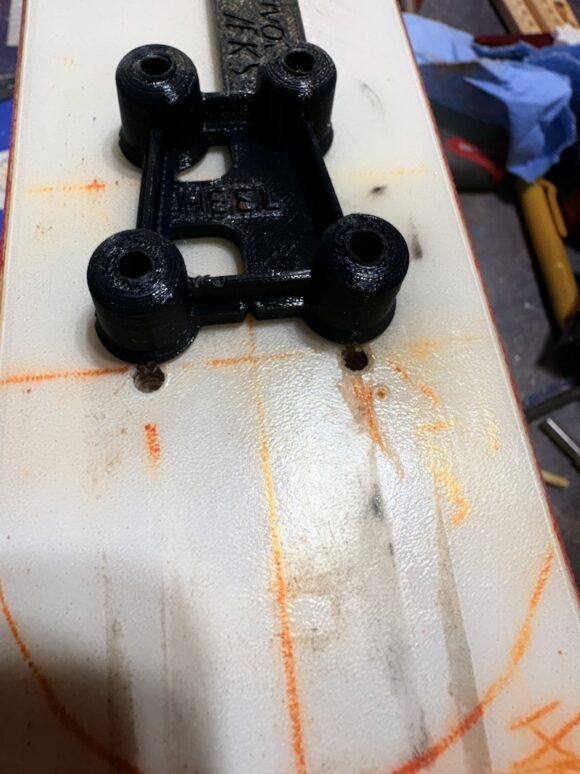
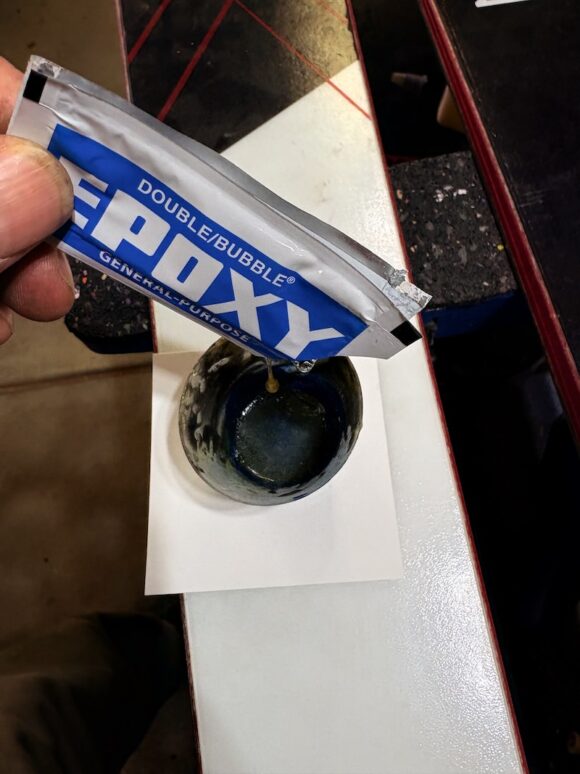
There are many ways existing holes can be filled and sealed. In this case, simply filling then and the new holes was the quickest. Binding sealant (aka glue) could have been used for the new holes, but since the epoxy was already in use, using it was more convenient and quick.
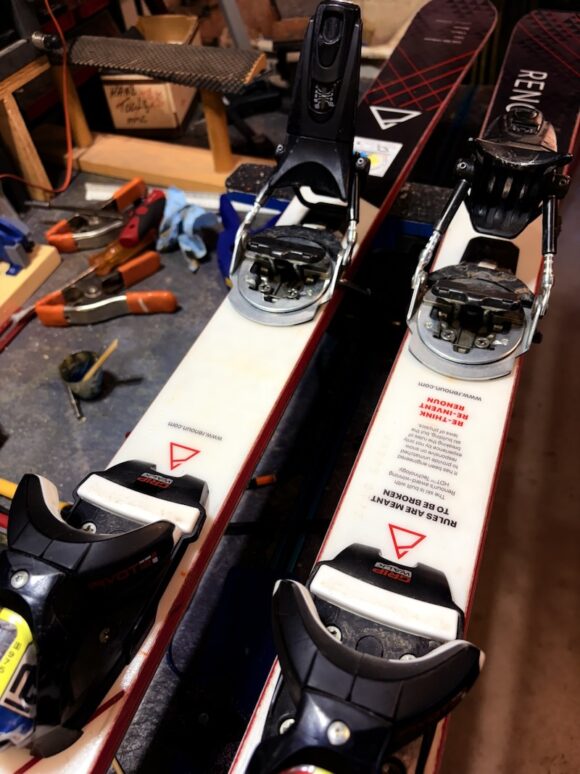
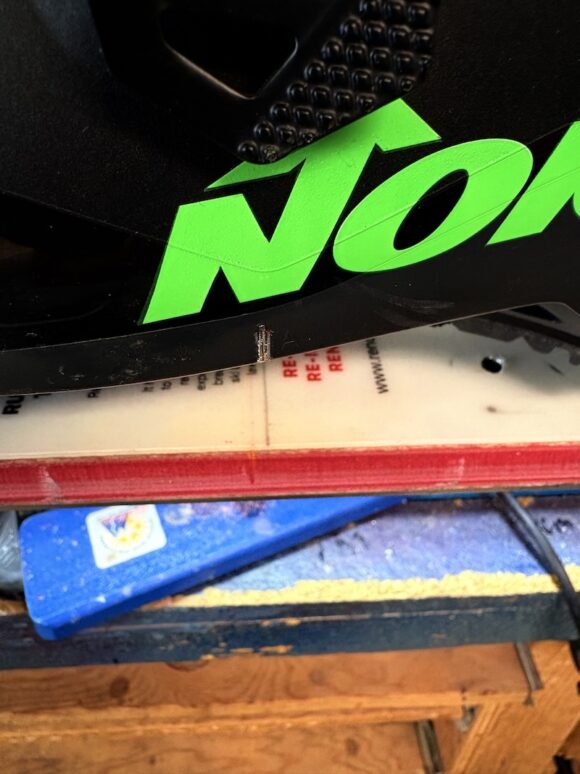
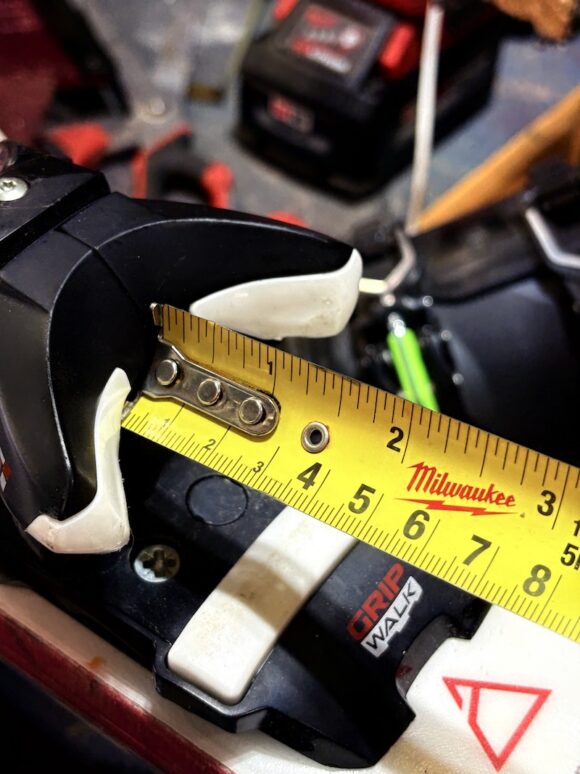
A quick check to confirm both binding mounts are consistent is to pull a tape measure from the toe to heel:

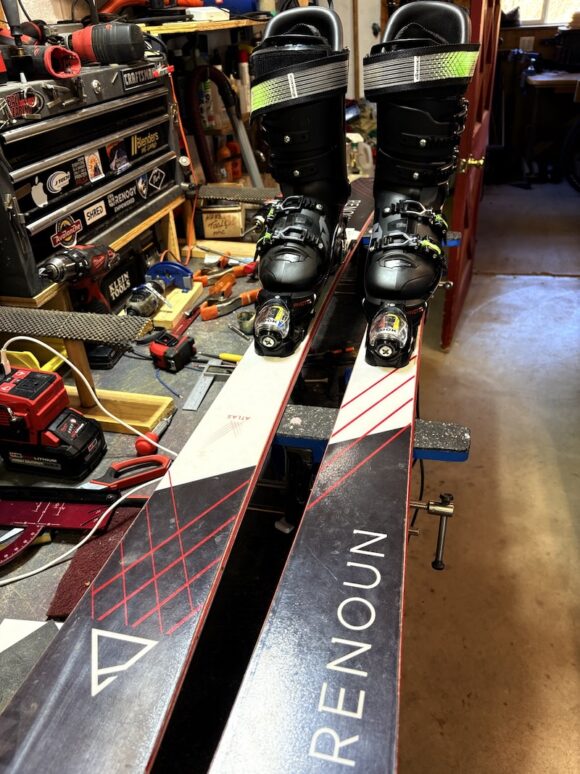
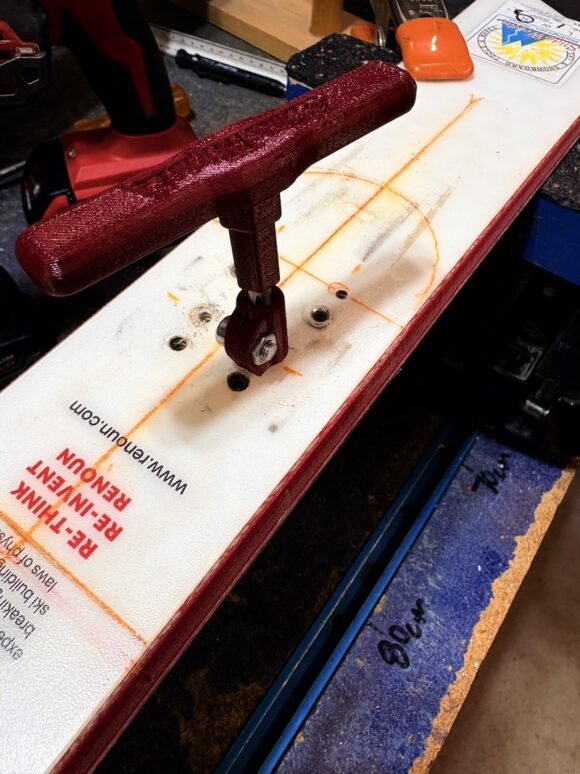
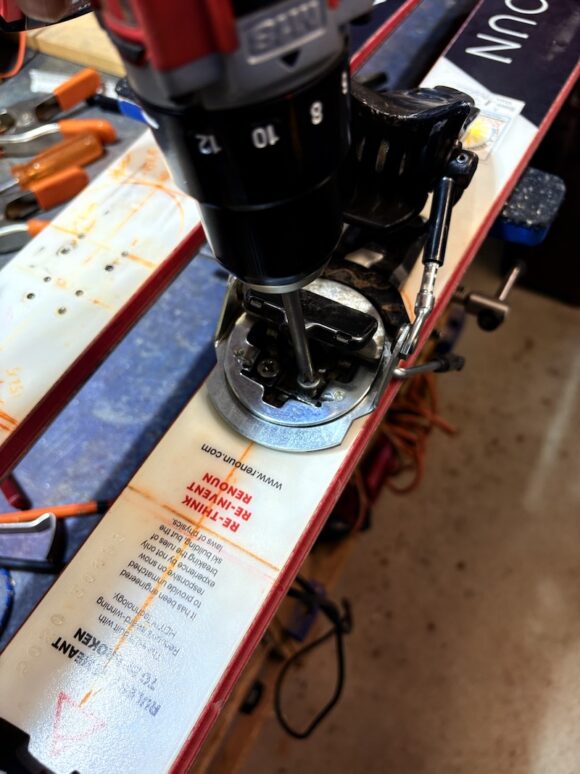
Check boot fit and let the epoxy cure or the glue dry. Have the forward pressure checked by a certified ski tech. Admire your work, tune ’em & wax ’em and get out there!