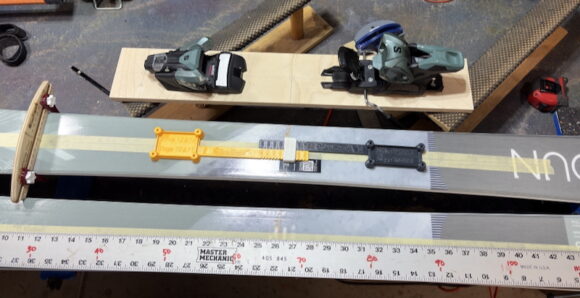
As an exercise, it’s been a desire to drill skis with a CNC. This is also an excellent method to quickly test the hole layouts of various binding templates and our binding layout tools. Also typical for testing hand or drill press mounts, the first steps were to sort out a process to secure, align & drill a 60cm x 100mm wide x 12mm thick test piece of Baltic Birch plywood. Birch plywood or poplar boards are similar to many ski cores and are better than softer 2x4s, pine boards or typical OSB or exterior plywood for testing your binding mounts before drilling your skis.
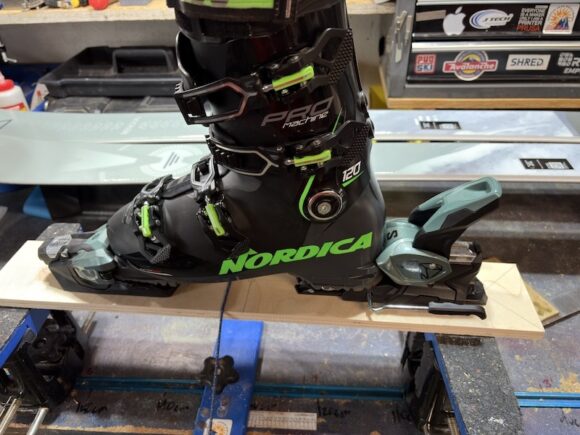
By ‘practicing’ on a test mount, you can get more comfortable with the mounting process while ‘getting to know’ your bindings, along with their adjustments, nuances, boot fit, etc. If you learn that a layout adjustment relative to the Boot Sole Center (BSC) and ski mounting point, it’s far better to know before drilling your skis. After this test mount and ‘fitting’, it was determined shifting the heel holes forward 8mm was better for the range of adjustment of current and other ski boot Boot Sole Lengths (BSL).
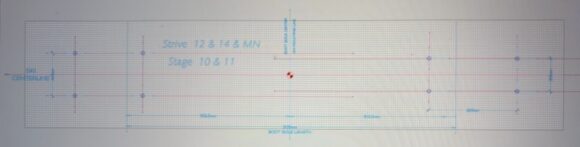
The spot on SlideWright Salomon Strive Binding Layout Tool’s hole layout was used as the basis for the CNC.
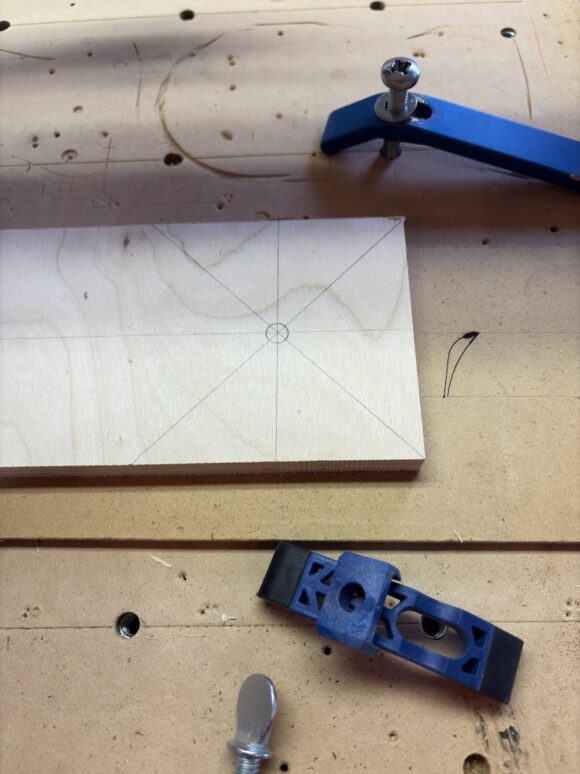
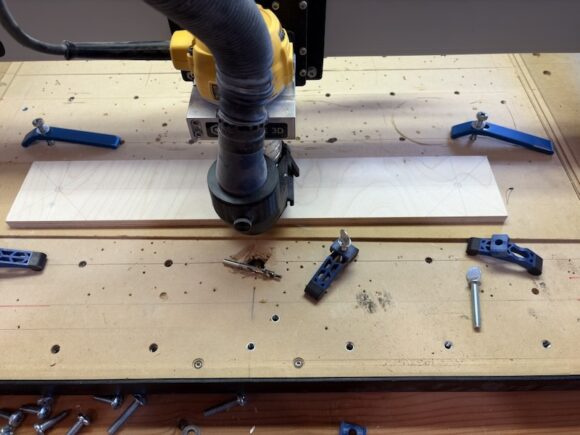
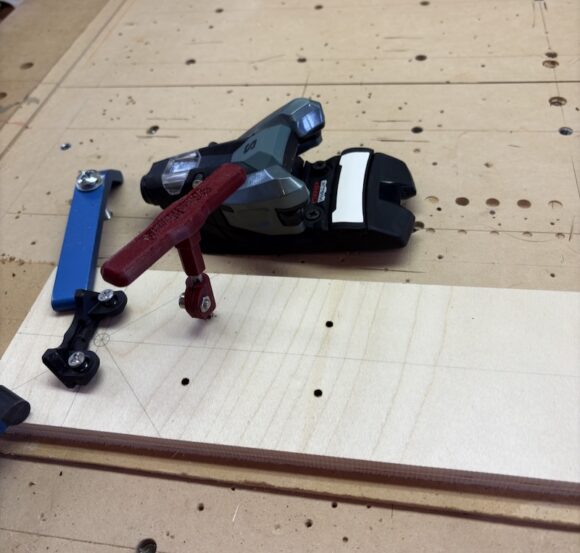
To align the test board on the CNC bed for clamping, a veebit was used to locate the board center line and mounting line relative to BSC.
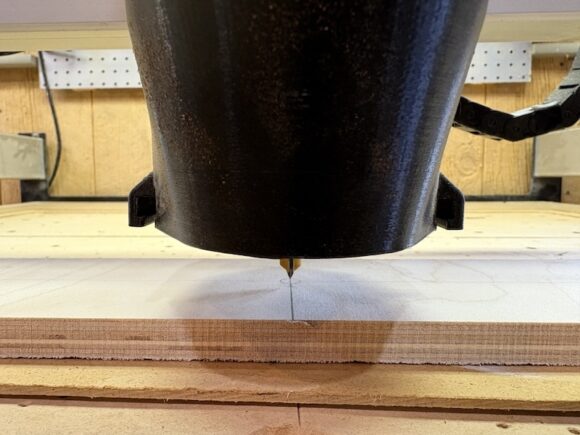
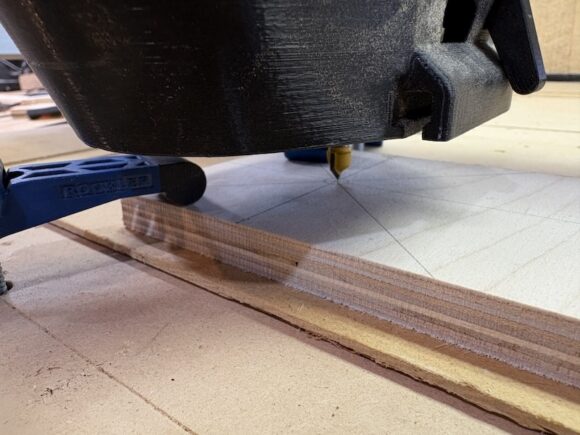
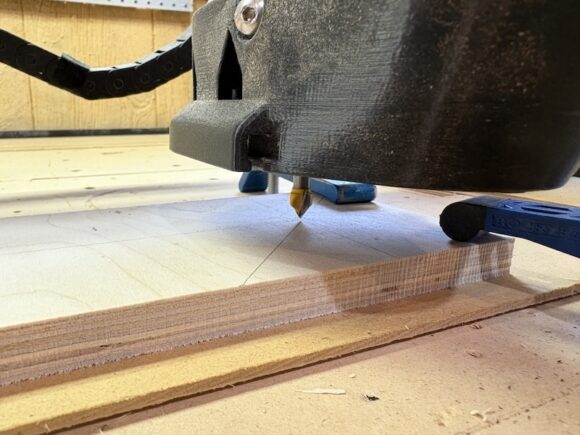

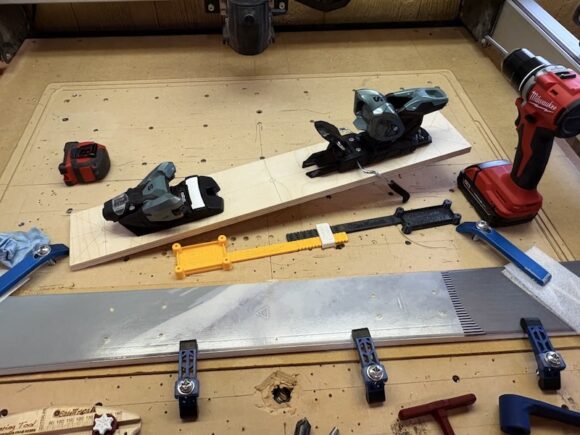
After clamping and triple checking the alignment, a ski drill was installed in the CNC chuck. The RPMs were too fast and the plunge rate too slow which caused burning. This would need to be adjusted before drilling skis.
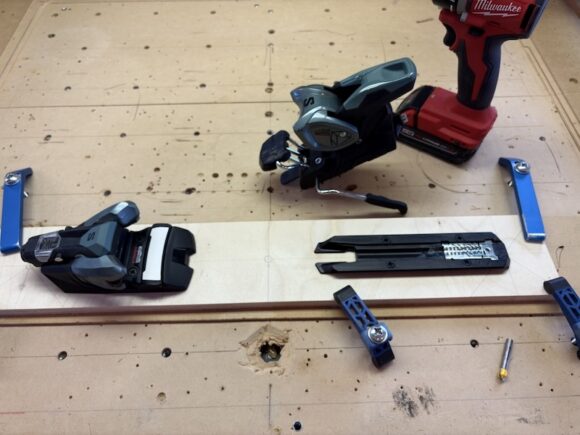
The board was tapped to assist with driving the drill. This is also a good opportunity to practice tapping drilled holes. The holes were countersunk to clean up the hole perimeters and vacuumed. The bindings were mounted and boot installed while secured.

Next up, the nerve racking steps to drill brand new skis!